Your Home’s Electrical System Is Its Backbone
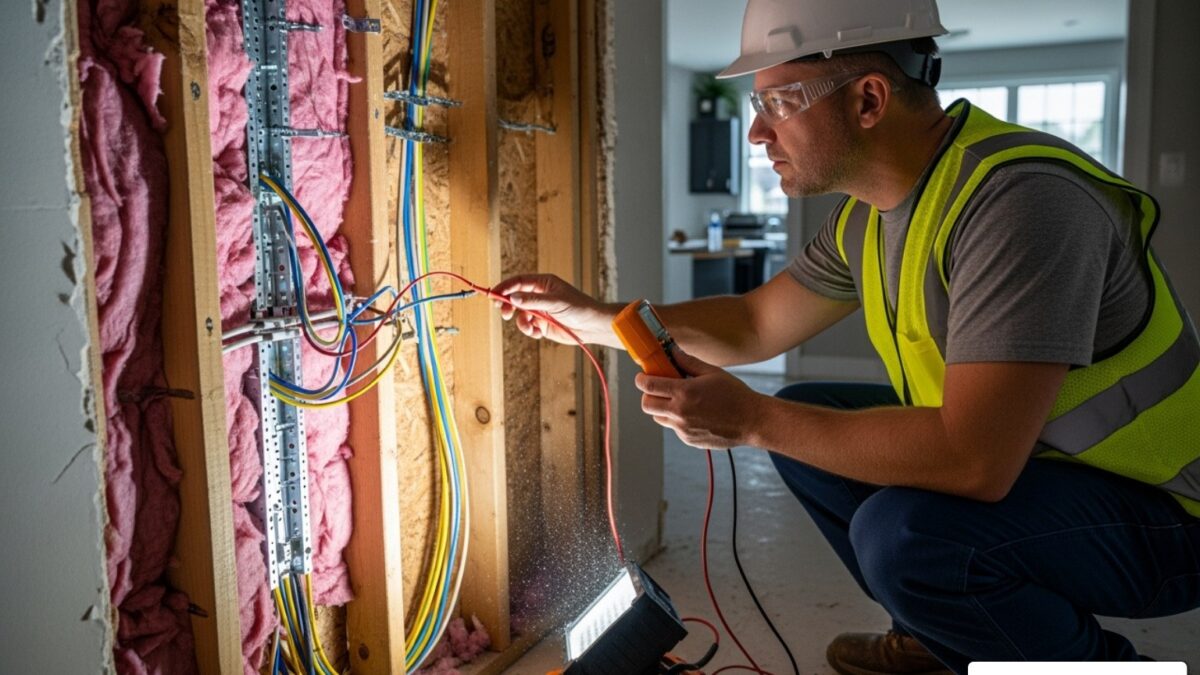
Every renovation exposes the same hidden truth sooner or later: the walls are open, the electrician is on site, and the wiring behind them belongs to a different era. Most houses built before 1990 were wired for a world of incandescent bulbs, a single television, and a window air conditioner if you were lucky. Today the same house carries laptops, phone chargers, a gaming setup, kitchen appliances that pull 1,500 watts each, and quite possibly an electric car. The result is a system doing twice the work it was designed for, on hardware that has been aging for decades.
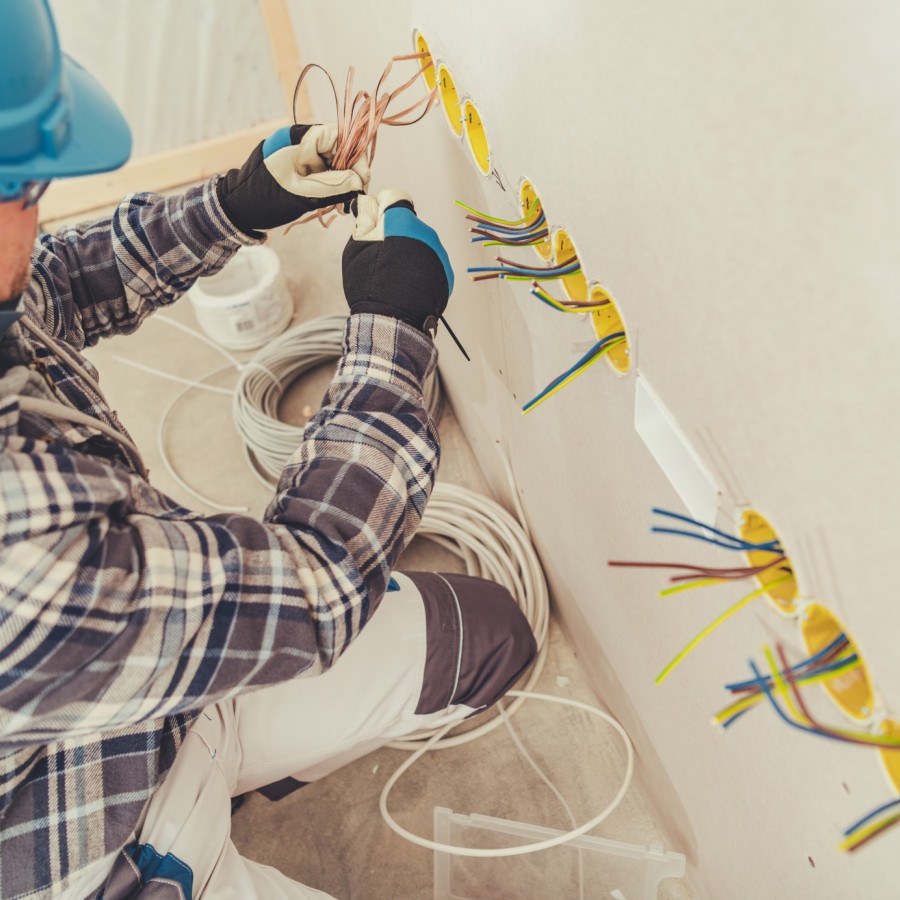
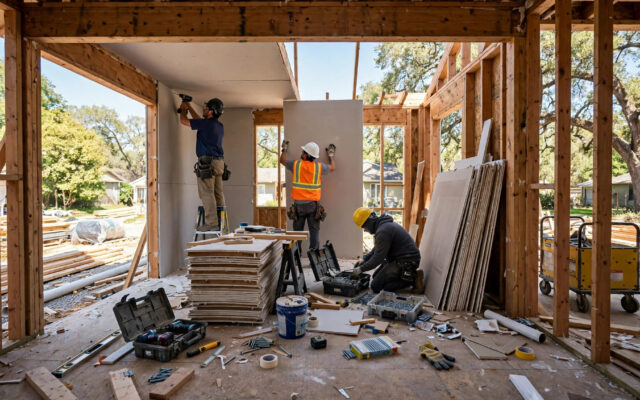
Smart home renovation is not about gadgets. It is about making the electrical infrastructure generous enough that the house works well for the next thirty years: a panel with spare capacity, circuits sized and dedicated where they should be, neutral wires in every switch box, conduit and cable pathways that make future changes cheap, and wiring run before the drywall goes up rather than fished through it afterward. Done during a renovation, this work costs a fraction of what it costs as a standalone project. The drywall is already open, the electrician is already there, and adding a circuit while the walls are bare is an hour’s work instead of a full day of cutting, fishing, and patching.
This article walks through the practical decisions: how to know if your panel needs upgrading, which circuits to add during a renovation, how to wire for future flexibility without overbuilding, and what the work realistically costs. No hype, no shopping list of devices — just the infrastructure that everything else plugs into.
Start With the Panel: Capacity and Condition
The service panel is where every decision starts. Open it (or have your electrician open it) and check three things. First, the total service size, printed on the main breaker: 100 amps is the common figure in houses built from the 1960s through the 1990s, 200 amps became standard later, and older homes may have only 60. Second, the remaining space: count the empty breaker slots, or check whether tandems (double-stuff breakers) are already maxed out. Third, the panel’s age and brand: fuse boxes, Federal Pacific and Zinsco panels, and any panel older than 40 years are candidates for replacement regardless of capacity, because their breakers are unreliable, replacement parts are scarce, and many insurers now surcharge or refuse coverage for them.
A load calculation — the formal NEC process of adding up the house’s electrical demand — tells you whether 100 amps is enough. For most families, it is marginal: an electric range pulls 40 to 50 amps, an electric dryer 30, air conditioning 20 to 30, and an EV charger 40 to 60. Stack a few of those and a 100-amp service is running uncomfortably hot. Upgrading from 100 to 200 amps typically costs $1,500 to $3,500 depending on the distance to the meter, the utility’s requirements, and local permits, and it is the single highest-leverage electrical investment a renovating homeowner can make. It ends breaker-tripping arguments, satisfies insurers, and is a line item buyers notice.
Even if capacity is fine, use the renovation to fix the panel’s sins: double-tapped breakers (two wires under one screw), missing breaker labels, undersized or missing grounding, and aluminum branch-circuit wiring from the 1965–1973 era, which needs licensed remediation (usually pigtailing with approved connectors) rather than being ignored. A panel schedule — a clear, accurate map of which breaker feeds what — costs nothing but an hour with a helper and a circuit tracer, and it pays for itself the first time something trips at midnight.
Circuits to Add While the Walls Are Open
Renovation wiring is about future demand, not present demand. The circuits below are the ones electricians most often wish they had run when the walls were open, listed by priority.
- Dedicated kitchen circuits. Code requires two 20-amp small-appliance circuits for countertops, plus dedicated circuits for the refrigerator, dishwasher, garbage disposal, and microwave. Older kitchens often run everything off one tired 15-amp circuit. During a remodel, add the full set — the wire is cheap, the drywall is open, and a kitchen that trips breakers when the toaster runs is a kitchen that was under-wired.
- Laundry and bath circuits. A 20-amp dedicated circuit for the laundry area (washer plus iron or steamer), and 20-amp GFCI-protected circuits for each bathroom. Hair dryers pull 1,500 watts; paired with a curling iron on a shared circuit, they trip 15-amp breakers routinely.
- EV charger circuit. Even if you do not own an electric vehicle, running a 50- or 60-amp circuit (or at least empty conduit) from the panel to the garage during a renovation is one of the cheapest future-proofing moves available — a few hundred dollars in wire and conduit versus $1,500 or more to trench and fish it later. Where to terminate it depends on the garage layout, but the cable can wait in the panel, capped and labeled, until it is needed.
- Home office and media circuits. A dedicated 20-amp circuit for the office or media wall prevents the classic failure mode: a computer, two monitors, a printer, a space heater, and a gaming console all sharing one circuit with the bedroom next door. One dedicated circuit per heavy-use room is the rule of thumb.
- Outdoor and utility circuits. A weatherproof 20-amp receptacle at the front and back of the house, a dedicated circuit for a garage or workshop (dust collectors and table saws draw serious current), and a circuit for holiday lighting or landscape lighting if you are doing exterior work anyway.
While you are at it, bring switch boxes up to modern standard: a neutral wire in every switch box (required by current code for new work, and necessary for most lighting controls), deep boxes rather than shallow ones (smart switches and dimmers are physically deeper than old toggles), and three-way switch wiring to stairways, hallways, and bedrooms where it was skipped. Running an extra traveler wire while the wall is open costs almost nothing; adding it later costs a drywall repair.
Low-Voltage Infrastructure: The Cheap Future-Proofing
High-voltage wiring is only half the infrastructure story. The other half is low voltage — the cables that carry data, video, and control signals — and a renovation is the one cheap moment to install it. The backbone is simple: run Category 6A Ethernet to every room, terminated at wall jacks, with at least two drops per bedroom, office, and living area, plus drops at every TV location and anywhere a desk might go. Cable costs about $0.30 to $0.50 per foot in bulk; a whole-house pull during a renovation adds a few hundred dollars in material. The payoff is a wired network that outperforms any wireless setup for the devices that stay put, and that takes load off the wireless network for everything else.
Where you cannot know the future, install conduit. Smurf tube (flexible corrugated conduit) or 1-inch PVC from the panel or a central closet to key locations — the attic, the garage, the media wall, each bedroom — lets you pull new cable later without opening walls. This is the single most praised future-proofing move in renovation circles, because nobody knows what cable the year 2040 will want, and conduit makes the answer irrelevant. Label both ends of every run.
A central low-voltage hub — a closet, utility room, or even a ventilated section of a cabinet — gives every cable a home. The hub needs power (a dedicated 20-amp circuit and a UPS are the standard), ventilation, and enough depth for a small rack or shelf. Terminate everything there on a patch panel, label every cable at both ends, and keep a written map in the panel door. Future-you, or the next owner, will be grateful.
Safety Upgrades Worth Doing Every Time
Renovations are the natural moment to bring protection up to current code, and this is non-negotiable work, not optional polish. Ground-fault circuit interrupters (GFCIs) are required on all kitchen countertop receptacles, bathrooms, laundry areas, garages, crawl spaces, and outdoor outlets — they trip in milliseconds on a ground fault and are the reason bathroom electrocutions have fallen dramatically since the 1970s. Arc-fault circuit interrupters (AFCIs), now required in most living areas, detect the sparking faults in damaged wiring that start fires; combination AFCI breakers cost about $40 to $60 each and install in minutes during a panel rework.
Two more safety items belong on every renovation list. First, hardwired interconnected smoke and carbon monoxide alarms: current code requires them on every level, in every bedroom, and outside each sleeping area, interconnected so that when one sounds they all sound, with battery backup. Battery-only alarms are legal in many places but hardwired interconnected units are safer and now expected by buyers. Second, whole-house surge protection: a Type 2 surge protective device installed at the panel costs $200 to $400 installed and protects everything downstream — appliances, HVAC controls, and the low-voltage gear in your hub — from utility surges and nearby lightning strikes. Individual surge strips cannot do what a panel-mounted unit does.
Lighting: The Layer Renovators Under-Plan
Lighting is wiring, and it is the part of the electrical plan that affects daily life most directly — yet it is routinely left to the last week of a renovation, when the options are limited to what the existing boxes allow. Plan it early, room by room, in three layers. Ambient lighting is the general illumination: recessed cans, flush mounts, or cove lighting, sized so the room reaches about 20 lumens per square foot in living areas and 50 to 75 in kitchens and baths. Task lighting is the focused layer: under-cabinet strips in the kitchen (hardwired, not plug-in, with a switch at the counter), vanity lighting at face height in bathrooms rather than a single overhead bar that casts shadows, and dedicated reading lights or pendants wherever people actually sit and read. Accent lighting — picture lights, shelf lighting, stair lights — is the layer that makes a renovated house feel finished rather than merely new.
The wiring decisions behind good lighting are made at rough-in: three-way switches for every stairway and long hallway, dimmers on dining and living-room circuits (make sure the dimmers are LED-compatible — old dimmers buzz and flicker with LED loads), and a neutral in every switch box, which current code requires and which every modern control needs. Run lighting circuits separately from receptacle circuits where practical; it keeps a tripped outlet from plunging a room into darkness. And if you are opening ceilings, consider 4-inch recessed lights instead of the old 6-inch standard — they disappear into the ceiling and distribute light more evenly. The cost difference at rough-in is negligible; the visual difference is not.
Common Wiring Mistakes to Avoid
Most electrical regrets trace back to a handful of predictable errors. The first is undersizing the panel upgrade: a homeowner upgrades to 200 amps but fills every slot immediately, leaving no room for the EV charger or heat pump that arrives three years later — always leave at least six spare slots. The second is skipping the load calculation and discovering, after the drywall is up, that the service cannot actually carry the new range, dryer, and air conditioning at once. The third is burying junction boxes behind drywall; every splice must remain accessible in a box with a cover, no exceptions, because future troubleshooting depends on it.
Fourth is the low-voltage afterthought: Ethernet and conduit skipped to save a few hundred dollars, then re-added later at ten times the cost through finished walls. Fifth is outlet placement planned from blueprints instead of from furniture: outlets end up behind the exact spot where the bed, the desk, or the TV console goes. Walk each room with the electrician and a roll of painter’s tape, marking where furniture will sit, before a single box is nailed up. Sixth is ignoring the inspector’s schedule — insulation and drywall must wait for the rough-in inspection, and rushing that sequence is how violations get entombed in walls. None of these mistakes is exotic. All of them are expensive to fix after the fact, and all of them are free to avoid during planning.
Realistic Costs and Sequencing
Electrical work is priced by scope and by access, and renovation access is the discount. As standalone projects, the figures look like this: a panel upgrade from 100 to 200 amps, $1,500 to $3,500; a full-house rewire of a 1,500-square-foot home, $8,000 to $15,000; a new dedicated circuit fished through finished walls, $300 to $600 each. During a renovation with open walls, each new circuit drops toward the low end of that range, and whole-house Ethernet plus conduit often totals under $1,000 in material and a day or two of labor. The economic logic is simple: the electrician is already mobilized, the drywall is already down, and the marginal cost of the tenth circuit is a fraction of the first.
Sequence the work so nothing gets buried prematurely. Rough-in inspection happens after all high-voltage and low-voltage cable is pulled but before insulation and drywall — this is the milestone that must not be skipped, because an inspector who finds a violation after drywall means opening walls. Coordinate the electrician with the HVAC and plumbing trades so nobody’s runs conflict; the panel schedule, cable map, and photos of every wall before insulation go into a renovation binder. Take those photos. Ten years from now, knowing exactly where the conduit runs will save a fortune.
A note on permits and who does the work: electrical work requires a licensed electrician and a permit in essentially every jurisdiction, and this is not the trade to DIY beyond the most basic receptacle swaps. Homeowner wiring that skips permits shows up at resale — buyers’ inspectors flag unpermitted electrical work, and insurance claims get complicated when the wiring was never inspected. The electrician’s hourly rate, typically $75 to $150 depending on region, buys the license, the insurance, and the inspection sign-off. Pay it.
The Payoff: A House That Doesn’t Fight You
None of this is glamorous. Nobody tours a renovated kitchen and admires the dedicated 20-amp circuit. But a house wired for the future is a house where the breakers never trip, the Wi-Fi has wired backhaul doing the heavy lifting, the panel has room for whatever comes next, and the next renovation — yours or the next owner’s — starts with conduit and spare slots instead of demolition. Electrical infrastructure is the least visible part of a renovation and the longest-lived: the wiring you put in the walls today will still be there in forty years. Size it generously, document it carefully, and build it while the walls are open, when it is cheap. That is what wiring a house for the future actually means — not predicting the future, but making the house cheap to adapt when it arrives. A decade from now, when some new technology wants a home in your walls, the question will be which conduit to pull it through, not which wall to demolish.
This article was produced with the assistance of AI.