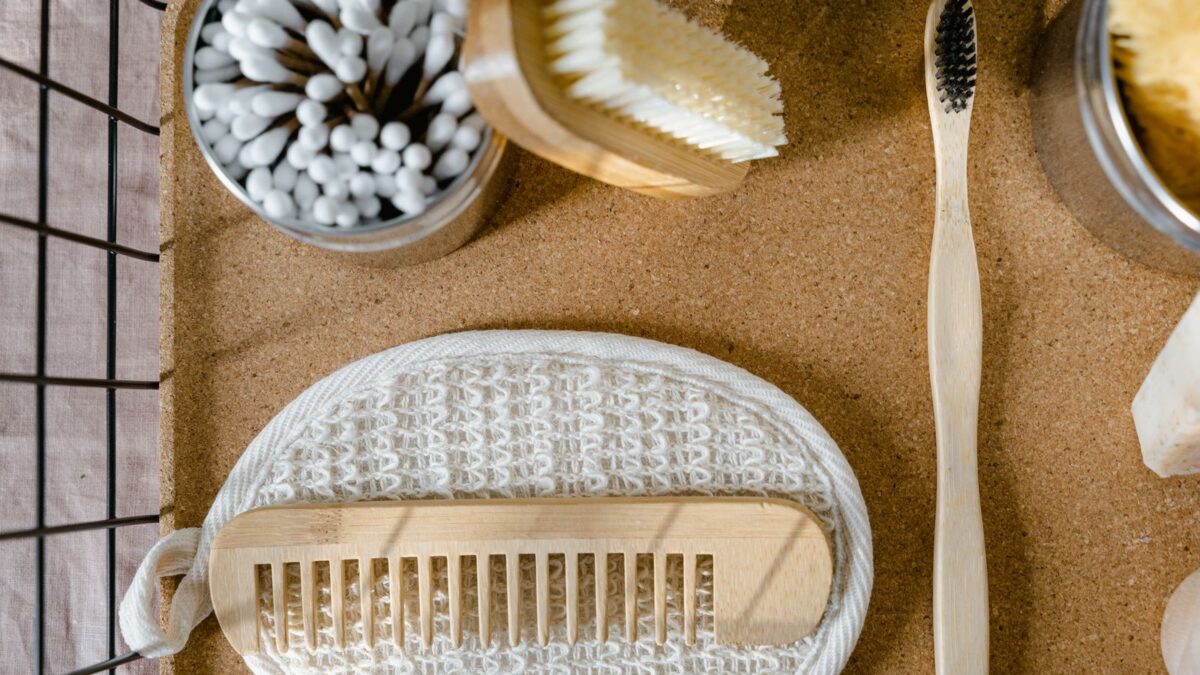
Bathrooms age in dog years. The grout yellows, the fixtures spot, the mirror shows every speck — and because the room is small, every flaw is six feet from your face. The good news: a bathroom is also the cheapest room in the house to transform, because the square footage is tiny and the changes that matter are mostly cosmetic.
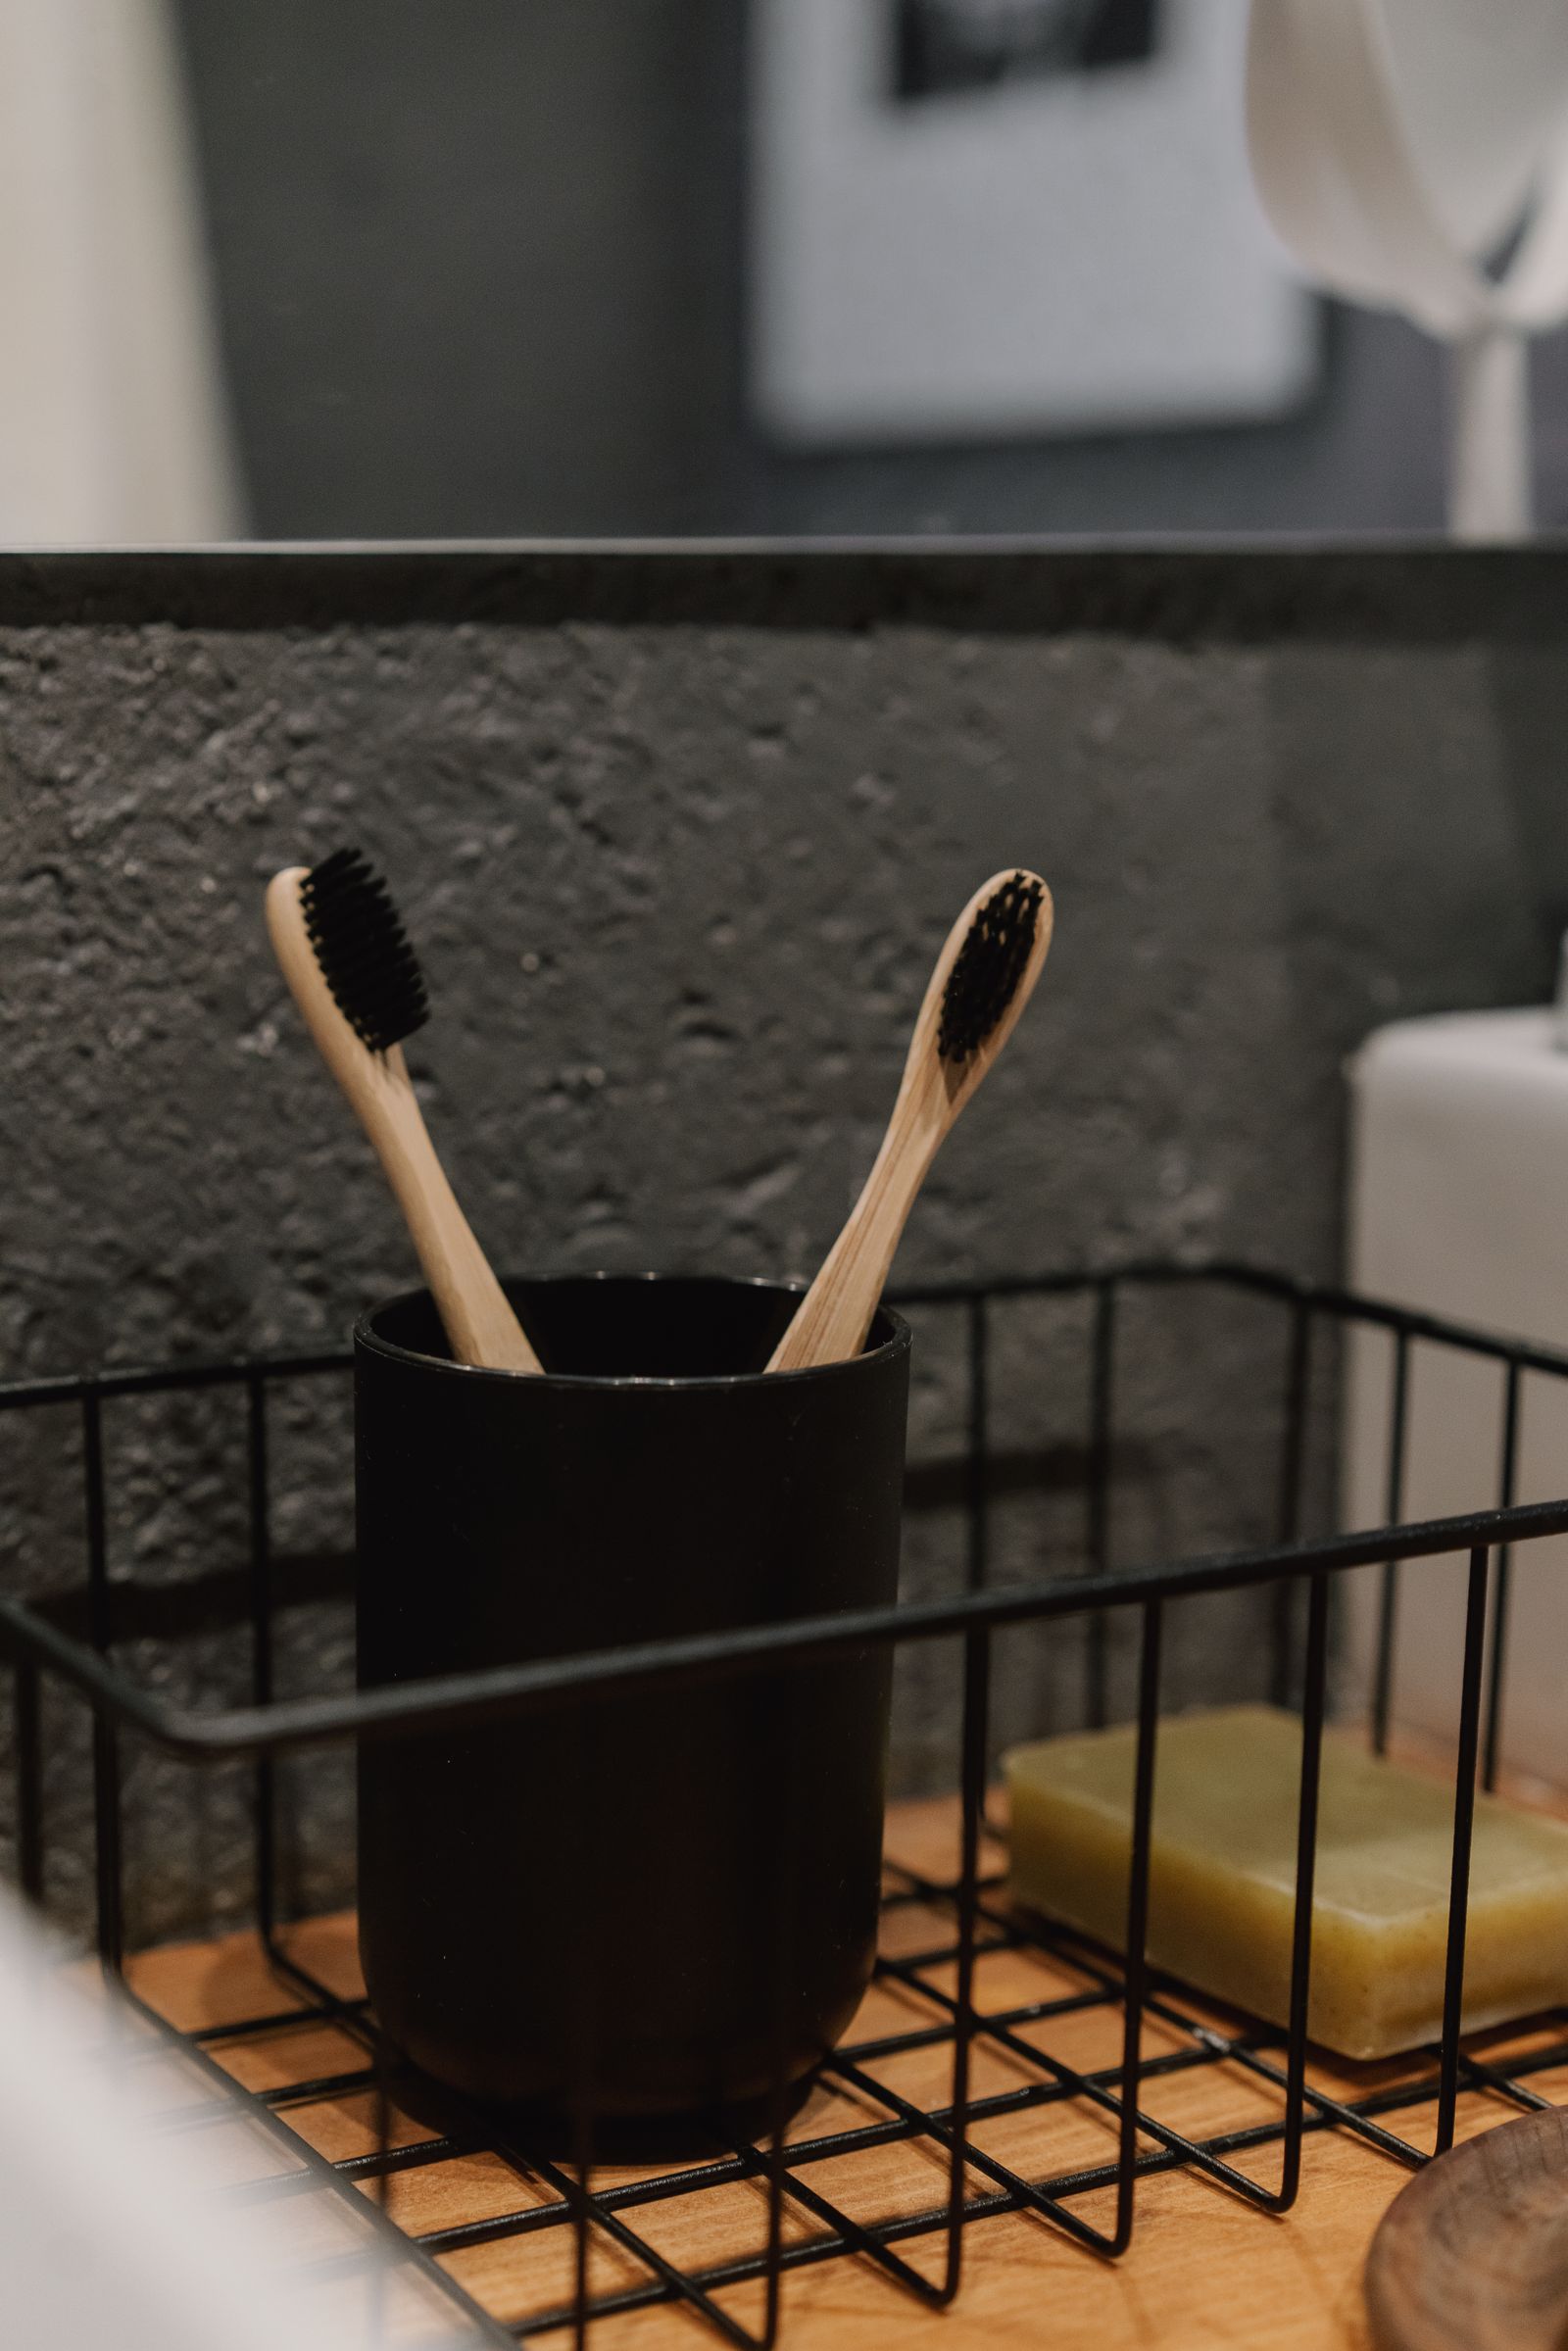
Start With Grout — It’s the Cheapest Transformation in the House
Before you replace a single tile, try the grout. Years of soap scum and hard water make grout lines the reason a bathroom looks dirty even when it’s clean. A grout pen (about 10 dollars) works for light discoloration — it’s essentially a marker that recolors the lines — but for real buildup, scrub with a paste of baking soda and hydrogen peroxide applied with an old toothbrush, left for 15 minutes, then rinsed. For grout that’s stained beyond cleaning, a grout colorant like a white or light-gray epoxy coating paints over the lines permanently for about 25 dollars per small bathroom. The application takes an afternoon: tape off the tile edges, brush the colorant onto the lines with the built-in applicator, wipe the haze off the tiles with a damp sponge before it cures. The result reads as brand-new tile work from normal standing distance, at roughly one percent of the cost of retiling.
Paint: The $40 Room Makeover
A small bathroom needs one gallon, maybe two if the walls are thirsty. Because bathrooms are humid, use a paint labeled specifically for kitchens and baths — it has mildewcides mixed in and a moisture-resistant resin. Satin or semi-gloss sheen; flat paint in a bathroom will spot and streak within months. Color strategy matters more here than anywhere: small bathrooms take dark, moody colors beautifully (deep green, charcoal, navy) because the small space makes the color feel intentional rather than cave-like — but only if the lighting is decent. If your bathroom has one dim ceiling light, go light and warm instead: soft whites with a warm undertone (not blue-white, which makes skin look ill) bounce what light you have. And paint the ceiling too if it’s stained — a fresh coat of white on a yellowed bathroom ceiling is one of the highest-impact hours in home improvement.
Swap Fixtures, Not Plumbing
The faucet, the towel bar, the toilet handle, the showerhead — these are the touchpoints, and dated ones broadcast “1990s rental” louder than anything. A new widespread bathroom faucet runs 60 to 120 dollars and installs in under an hour with basic wrenches; shut off the angle stops under the sink first. A rain-style showerhead is a 30-dollar swap that unscrews by hand (wrap the new threads with Teflon tape, three wraps clockwise). Replace the toilet seat — a slow-close seat is 25 to 40 dollars, installs with two bolts, and eliminates the 2 a.m. slam forever. Match your finishes: if you go matte black on the faucet, do the towel ring, the toilet handle, and the cabinet pulls too. Mixed finishes are the fastest way to make new fixtures look like an afterthought. One finish, carried through five small pieces, reads as a designed decision.
Light It Like You Actually Use It
Most bathrooms have a single harsh overhead light that casts shadows directly under your eyes — the least flattering light in the house, in the room with the mirror. If you can change one fixture, make it the vanity light: a two- or three-light bar mounted at eye level (about 60 to 65 inches from the floor) on either side of the mirror, or above it, at 2700K to 3000K warm white. Sconces flanking the mirror are the gold standard because they light the face evenly from both sides. Can’t rewire? A plug-in wall sconce with a cord cover (about 40 dollars) gives the same effect with zero electrical work. And swap the bulb in the existing fixture today: a 75-watt-equivalent LED at 3000K, 1100 lumens, costs 8 dollars and takes thirty seconds. Check the CRI rating on the box — 90+ renders skin tones accurately; cheap 80-CRI bulbs make everyone look slightly unwell.
The Mirror and the Vanity: Reface, Don’t Replace
A builder-grade flat mirror can be framed for about 30 dollars: four pieces of primed trim from the hardware store, cut at 45-degree miters (most stores will cut them for you), attached with construction adhesive directly to the mirror’s edge. Paint the frame to match your fixtures. For the vanity, a full replacement starts around 300 dollars before plumbing — instead, paint the existing cabinet with a bonding primer and two coats of enamel (satin finish), swap the pulls, and top it with a new countertop if the old one is stained. A pre-cut cultured marble top for a standard 30-inch vanity runs about 100 dollars and drops onto the existing cabinet with silicone. If the vanity is structurally fine but ugly, this combination — paint, hardware, top — gets you 80 percent of a new vanity for under 200 dollars.
Storage and Textiles Do the Rest
Bathrooms look cluttered because every product is on display. Corral the counter: a small tray or basket holds the daily items and makes the rest of the counter read as clear. Over-the-toilet shelving (about 50 dollars, freestanding, no drilling) adds two shelves of storage in dead vertical space. Inside the shower, a tension-pole corner caddy beats a rusting wire rack hanging off the showerhead. Then the textiles: matching towels in white or a single color, hung folded over a bar rather than bunched on a hook, are the cheapest styling move in the room — a set of four decent bath towels runs about 40 dollars. Add a washable bath mat (not the thin flat kind — a proper cushioned one, about 25 dollars), a new shower curtain if you have one (go for a fabric liner plus a decorative outer curtain, about 35 dollars total, and it hangs better than any plastic curtain), and one green plant that tolerates humidity: pothos or a fern on the windowsill or a high shelf.
What to Skip (and What Actually Needs a Pro)
Not every cheap bathroom project is worth doing. Skip stick-on tile over existing tile in a shower — the adhesive fails in constant moisture and you’ll be peeling it off in a year. Skip painting tile with “tile paint” kits unless the tile is truly hideous; the finish chips at edges and looks worse than dated-but-intact tile within two years. And know the line: anything involving moving a drain, opening a wall with plumbing in it, or electrical work beyond swapping a fixture calls for a licensed pro. A botched DIY valve replacement that floods the subfloor turns a 300-dollar refresh into a 3,000-dollar repair. Cosmetic work is yours; water and wires belong to someone insured.
A Weekend Timeline That Actually Works
Spread the work across two days so drying times don’t bottleneck you. Saturday morning: deep-clean everything, scrub the grout, and remove old caulk. Saturday afternoon: paint the walls (first coat), and while it dries, swap the showerhead, toilet seat, and cabinet hardware. Sunday morning: second coat of paint, then frame the mirror and hang the over-toilet shelving while the paint cures. Sunday afternoon: fresh caulk lines, new towels and mat, style the counter. The order matters — dusty jobs (sanding, drilling) before paint, wet jobs (caulk, paint) with drying time built in, and styling dead last so you’re not moving decor around a wet room. Total hands-on time is roughly ten hours; the rest is the clock doing the work for you.
Add it up: grout refresh, a gallon of paint, a faucet, a showerhead, a toilet seat, matching fixtures, a framed mirror, fresh towels and a mat — you’re at roughly 300 to 450 dollars and two weekends. That’s not a remodel. It’s better: it’s the bathroom actually feeling finished every time you walk in.