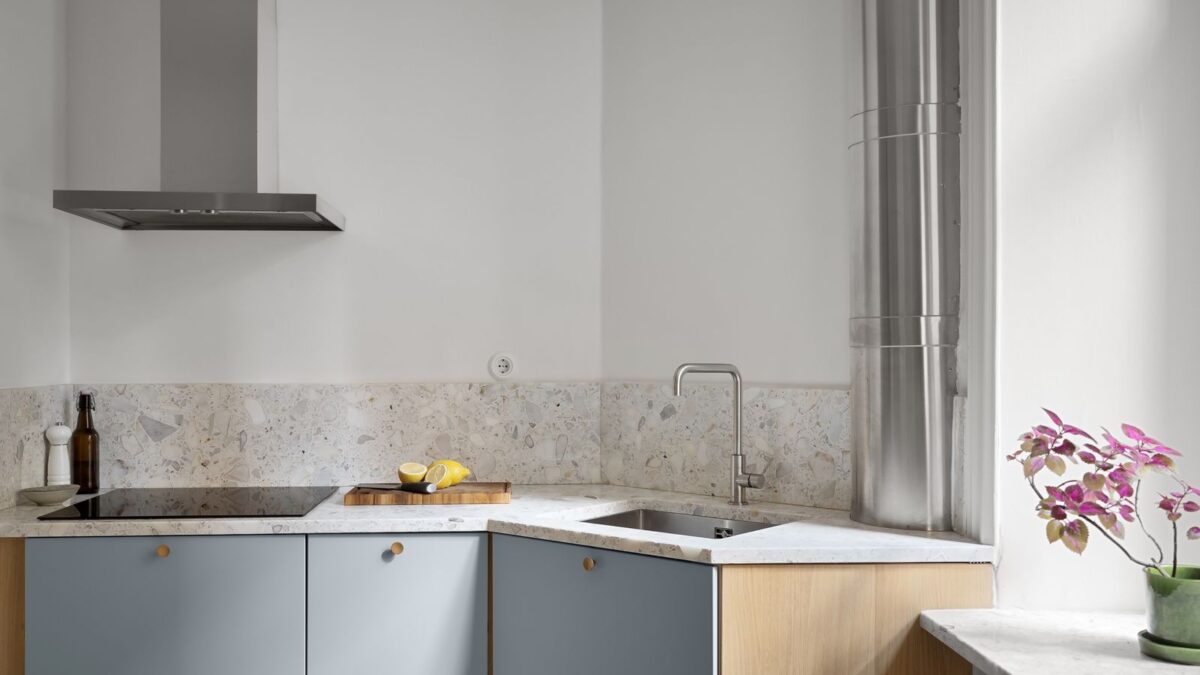
A full kitchen remodel can swallow twenty thousand dollars and three months of dust. Most kitchens don’t need that. What they need is a handful of targeted changes — the kind you finish on a Saturday — that fix the things your eyes land on every day: tired hardware, flat lighting, a faucet you’ve hated since you moved in.
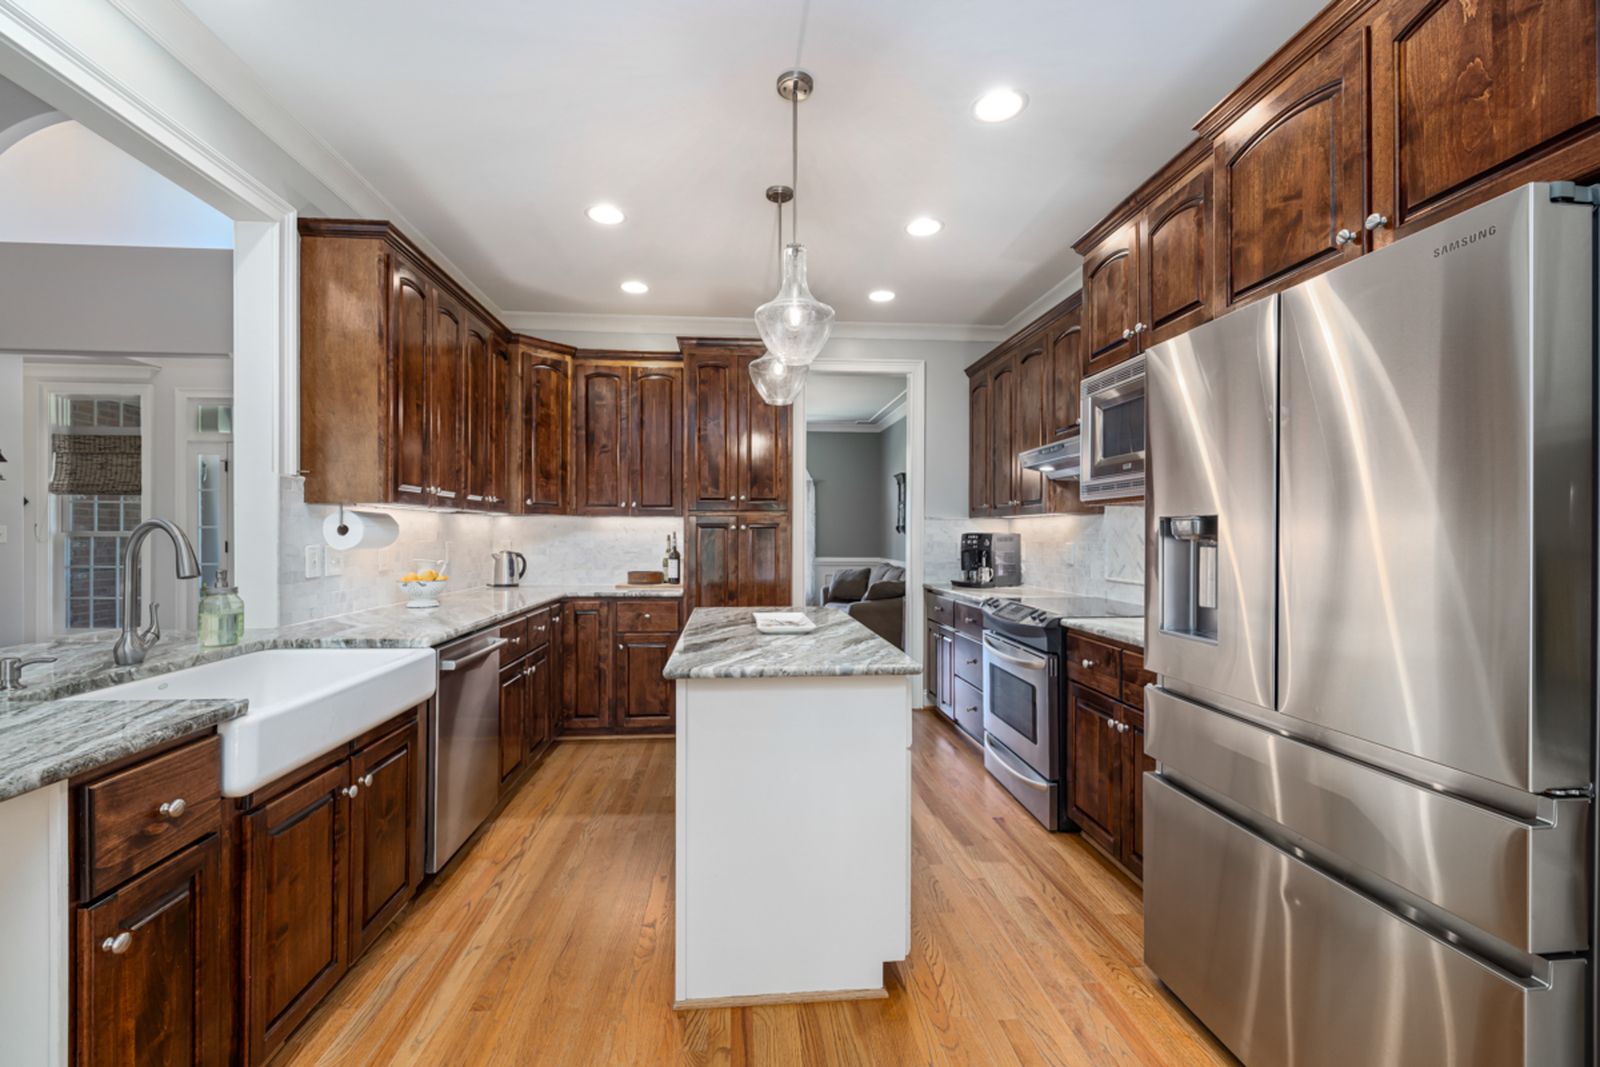
Swap the Hardware and Watch the Cabinets Change
Cabinet knobs and pulls are the jewelry of a kitchen. Replacing them takes about two hours for a standard 20-cabinet kitchen and costs anywhere from 60 to 150 dollars depending on what you pick. Measure the center-to-center distance on your existing pulls before you shop — the two common sizes are 3 inches and 3-3/4 inches — because matching that spacing means you won’t drill new holes. Unscrew the old hardware from inside the door, pop the new pulls on, and hand-tighten; a power driver can crack the finish or strip the wood if you go too far. The visual difference is outsized. Brushed brass pulls on white shaker cabinets read instantly modern; matte black bar pulls sharpen up oak. If your doors currently have knobs and you want pulls, that’s a bigger job — you’ll fill old holes with wood filler, sand flush, and drill new ones with a template jig, which adds an afternoon.
Add Under-Cabinet Lighting Where It Counts
The single most flattering change you can make is light that actually hits your countertops. A 16-foot spool of warm-white LED strip (2700K–3000K) costs about 25 dollars and peels-and-sticks to the underside of wall cabinets, about an inch back from the front edge so you don’t see the diodes. For a cleaner look, aluminum channels with a diffuser snap over the strip and hide every dot. Plug-in strips work, but hardwired or battery pucks are tidier for renters — rechargeable motion-sensor pucks run about 30 dollars for a six-pack and last roughly a month per charge. Stick to warm tones; cool daylight LEDs make food look clinical. Install the strips in one run per cabinet section rather than daisy-chaining long sags of wire, and wipe the mounting surface with rubbing alcohol first so the adhesive actually holds through kitchen heat.
Replace the Faucet, Not the Sink
A faucet is the thing you touch fifty times a day, and a good one changes how the kitchen feels. A solid single-handle pull-down faucet runs 120 to 250 dollars. Installation is a one-hour job with a basin wrench: shut off the hot and cold supply valves under the sink, disconnect the supply lines with an adjustable wrench (keep a bucket handy — there will be residual water), unthread the mounting nuts, and lift the old faucet out. Drop the new one in, tighten the mounting nuts from below, reconnect the supply lines with fresh plumber’s tape on the threads, and run the water for a minute to flush debris before you screw on the aerator. The common mistake is overtightening the supply-line connections — snug plus a quarter turn is enough; crank them and you’ll crack the ferrule and create the leak you were trying to avoid.
Give the Walls One Bold Move
You don’t need to tile the whole kitchen. A peel-and-stick backsplash behind the range — one focused rectangle, roughly 30 inches wide by 24 inches tall — gives you the “renovated” read for about 40 dollars. The trick is prep: degrease the wall with TSP substitute, because cooking grease is invisible and nothing sticks to it. Start your tiles at the center and work outward so the cut pieces land at the edges where they’re less noticeable. For paint, one gallon of a saturated color on a single accent wall (the wall without cabinets, usually) takes a morning including two coats. Satin or eggshell sheen wipes clean; flat paint in a kitchen is a regret waiting to happen.
Fix the Small Annoyances That Add Up
These take minutes and cost almost nothing, which is exactly why they never get done. Replace yellowed outlet and switch plates — a 10-pack of screwless plates is about 25 dollars and takes twenty minutes with a screwdriver. Add soft-close adapters to slamming cabinet doors; at roughly 3 dollars per door they press into the existing hinge cup with no tools. Swap the harsh ceiling bulb for a 3000K LED at 800 lumens — kitchens need brightness, but warmth keeps it from feeling like a hospital. Caulk the line where the countertop meets the backsplash if it’s cracked or missing; a 5-dollar tube of kitchen-and-bath silicone, smoothed with a wet finger, stops water from creeping into the cabinet below.
Stage the Counters Like You Mean It
Cluttered counters make even a new kitchen look tired. Pull everything off and put back only what you use daily — coffee maker, knife block, maybe the fruit bowl. Decant dish soap and hand soap into matching pump bottles (about 15 dollars for a set) and ditch the branded packaging. A wooden cutting board leaned against the backsplash, a small potted herb in a ceramic pot, and a folded linen towel on the oven handle are the entire styling budget. The rule of threes works: group items in odd numbers, vary the heights, and leave at least a third of the counter visibly empty. Negative space reads as clean and expensive.
Upgrade the Details You Touch Every Day
Beyond the big-ticket visuals, a few tactile upgrades change how the kitchen feels in use. Replace a wobbly, stained dish-drying setup with a roll-up over-the-sink drying rack — about 25 dollars, stainless steel, and it frees the entire counter beside the sink. If your cabinet shelves are deep black holes, add pull-out wire baskets (roughly 30 dollars each for standard 18-inch cabinets); they install with four screws into the cabinet floor and turn a crouch-and-reach situation into a single smooth pull. For the junk drawer that every kitchen has, a 15-dollar adjustable bamboo organizer ends the tangle of batteries, rubber bands, and takeout menus. And if your trash can lives out in the open, a simple tilt-out cabinet conversion kit or even a decent lidded bin tucked under the sink area instantly tidies the sightline from the living room. None of these show up in a listing photo, but they’re the upgrades you notice at 7 a.m. with coffee in hand — which is the whole point.
Refresh the Sink Area Without Replacing It
The sink zone dates a kitchen faster than almost anything. If a new sink isn’t in the cards, a 20-dollar stainless grid that sits in the basin hides scratches and makes an old sink look intentional. Replace a stained, crusty caulk line around the sink rim with fresh silicone — dig out the old bead with a plastic scraper, clean with rubbing alcohol, and lay a smooth new bead. Swap the sponge caddy for a slim pump-style soap dispenser that mounts to the counter or wall, and add a small over-sink dish rack only if you hand-wash daily; otherwise it just collects clutter. These are ten-minute fixes, but the sink is the visual center of the kitchen work zone, and a crisp sink area makes the whole room read as cared-for.
None of these projects requires a contractor, a permit, or more than a weekend. Pick the two that bother you most when you walk in, do them first, and live with the result for a week — you’ll probably find the kitchen you wanted was already there, hiding under thirty dollars of hardware and a better lightbulb.