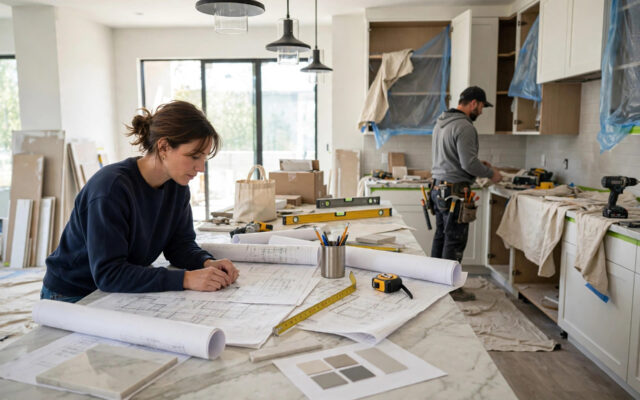
When homeowners plan a whole-house renovation, they usually think room by room: the kitchen this year, the bathrooms next year, the basement someday. What they rarely think about is sequence — the order in which those rooms get done. And sequence matters enormously. Renovate in the wrong order and you will pay to protect finished work from construction damage, redo work that later phases destroy, live through the same disruption twice, and discover too late that the room you finished first no longer matches the house you built around it.
The right order is not about which room you use most or which bothers you most, though those feelings are real. It is about construction logic: work from the inside out, from the messiest to the cleanest, from infrastructure to finishes, and from the rooms that constrain everything else to the rooms that depend on those decisions. This guide lays out the optimal renovation sequence for a typical house, explains the reasoning behind each step, and covers the exceptions where your situation changes the order.
The Golden Rule: Infrastructure Before Cosmetics, Messy Before Clean
Every renovation decision flows from two principles. First, anything hidden inside walls, under floors, or above ceilings must be addressed before the surfaces that cover it. There is no sadder renovation sight than a brand-new kitchen backsplash being demolished six months later because the plumbing behind it failed — plumbing that a planned repipe would have replaced first. Second, the dustiest, most destructive work happens first, so that each subsequent phase starts with a clean slate rather than damaging completed work.
These principles produce a natural sequence that experienced contractors follow almost instinctively: structural and exterior work, then mechanical systems (electrical, plumbing, HVAC), then insulation and drywall, then flooring, then kitchens and bathrooms, then interior finishes and paint, and finally exterior cosmetic work and landscaping. Within that framework, the room-by-room order that serves most homeowners best looks like this.
Phase 1: The Bones — Structure, Roof, and Exterior Envelope
Before touching a single interior room, address anything structural and anything that keeps water out. Foundation repairs, structural reinforcement, roof replacement, window replacement, and siding or exterior envelope work come first. The logic is unforgiving: a roof leak will destroy any interior work beneath it, and structural work shakes the entire house — cracking fresh drywall, popping new tile, and misaligning newly hung doors.
This phase is also when to handle anything requiring major exterior access or heavy equipment. If a renovation needs a steel beam, it comes through the wall before the wall is finished. If the yard needs regrading for drainage, the heavy machinery crosses the lawn before you landscape it. Homeowners eager to start on the pretty rooms often resent this phase because it is expensive and invisible. Reframe it: this is the phase that protects every dollar you spend afterward.
Windows deserve special mention. Replace windows before interior finishes, because window installation disturbs interior trim, drywall, and paint around every opening. Doing windows after you have painted is paying for paint twice. If full replacement is not in the budget, decide now — living with old windows for five more years is fine, but replacing them two years after a full interior remodel is construction-logic malpractice.
Phase 2: The Guts — Electrical, Plumbing, and HVAC
With the envelope secure, the mechanical systems go in. This is the phase of open walls: electricians running new circuits and upgrading panels, plumbers relocating supply and drain lines, HVAC contractors installing ductwork and equipment. All three trades need wall and ceiling cavities open, and they need them in a coordinated sequence — which is why this phase demands the most project management of any in the renovation.
The order within the guts phase matters too. Plumbing rough-in typically comes first because drain lines are the least flexible — they depend on gravity, so their routes are fixed by physics. HVAC ductwork comes next, as ducts are bulky and claim the largest cavities. Electrical follows, since wire is the most flexible and can route around the other systems. Framing adjustments for relocated walls happen alongside or just before. A good general contractor sequences these trades so they are not tripping over each other; a bad one lets them fight for the same cavities and schedule.
This is also the moment for infrastructure you will never touch again: upgrading the electrical service panel if you are adding load (kitchens, EV chargers, heat pumps all demand more amperage), replacing galvanized or polybutylene plumbing, adding circuits for future needs (run conduit or wire for that EV charger now, even if the charger waits), and improving ventilation in baths and kitchens. Every one of these is ten times cheaper with walls open than after finishes are installed.
Inspections Happen Here
Rough-in inspections by your local building department occur at the end of this phase, before insulation and drywall close the walls. Schedule them promptly — inspectors’ availability, not your contractor’s speed, often sets the pace here. Failed inspections are normal and not a crisis; they mean the inspector caught something before it was buried. What you must avoid is covering work before inspection, which can force expensive demolition to expose it.
Phase 3: Insulation, Drywall, and the Closed Shell
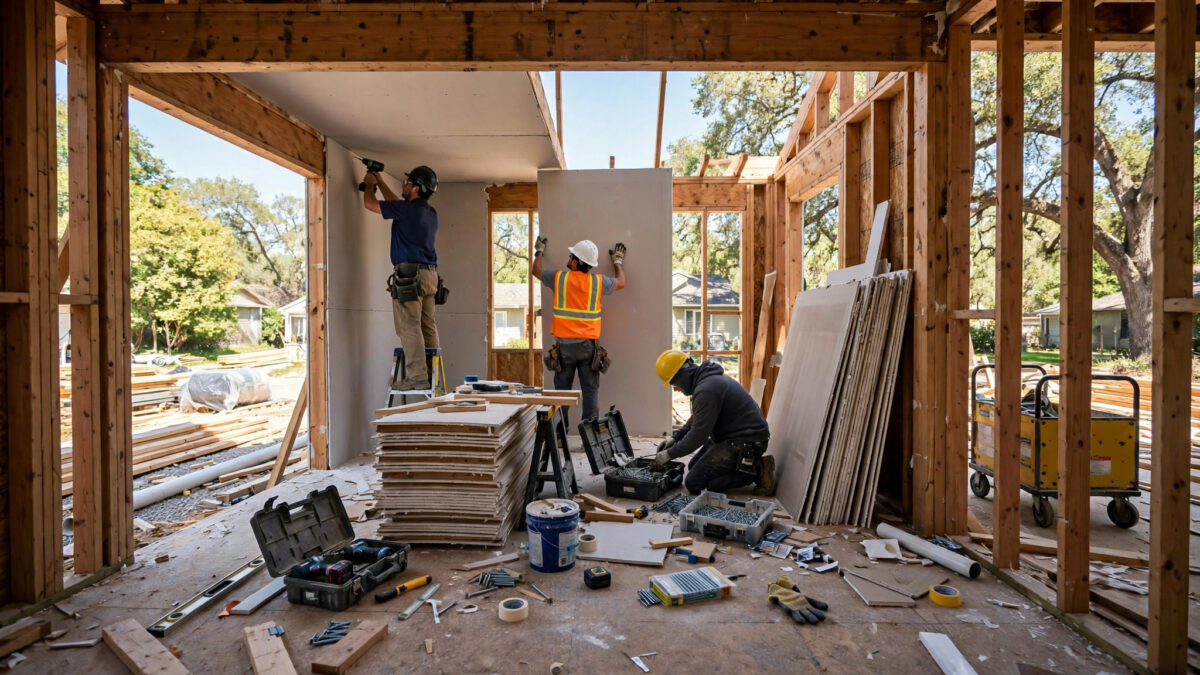
Once mechanicals pass inspection, insulation goes in, then drywall, then tape, mud, and texture. This phase transforms the house from a construction site into something that looks like rooms again, which is psychologically huge — but do not mistake it for the finish line. Drywall work is dusty, and the dust infiltrates everything. Keep finished flooring uninstalled, keep new cabinetry out, and keep the HVAC system protected or off during the sanding stages if possible.
Insulation is your one chance for decades. With walls open, upgrading insulation is cheap; doing it later means tearing walls apart. Consider not just code-minimum batts but air sealing — caulking penetrations, sealing top plates, addressing rim joists — which often delivers more comfort per dollar than thicker insulation alone. If any room has chronic comfort problems (the bonus room that is always cold, the west-facing bedroom that bakes), this phase is when you fix it with insulation, air sealing, or ductwork adjustments.
Phase 4: Flooring — Before or After Cabinets?
Flooring placement in the sequence sparks genuine debate among contractors, and the answer depends on the flooring type. The general rule: install hard flooring (hardwood, tile, luxury vinyl) before kitchen and bathroom cabinetry, because cabinets sitting on top of the flooring look better, allow future layout changes without flooring gaps, and avoid the nightmare of cutting flooring precisely around cabinet bases. The exception is carpet, which goes in last — after paint, after trim, after everything — because it is the most damage-prone finish in the house.
Refinishing existing hardwood floors is the messiest flooring operation of all: sanding dust penetrates every room. If your renovation includes refinishing floors anywhere, do it before final paint in adjacent rooms, and seal off the rest of the house. Many contractors prefer to refinish floors after cabinetry installation but before the final coat of paint — the cabinets protect their own footprint, and any paint touch-ups after floor work are minor.
Phase 5: Kitchens and Bathrooms
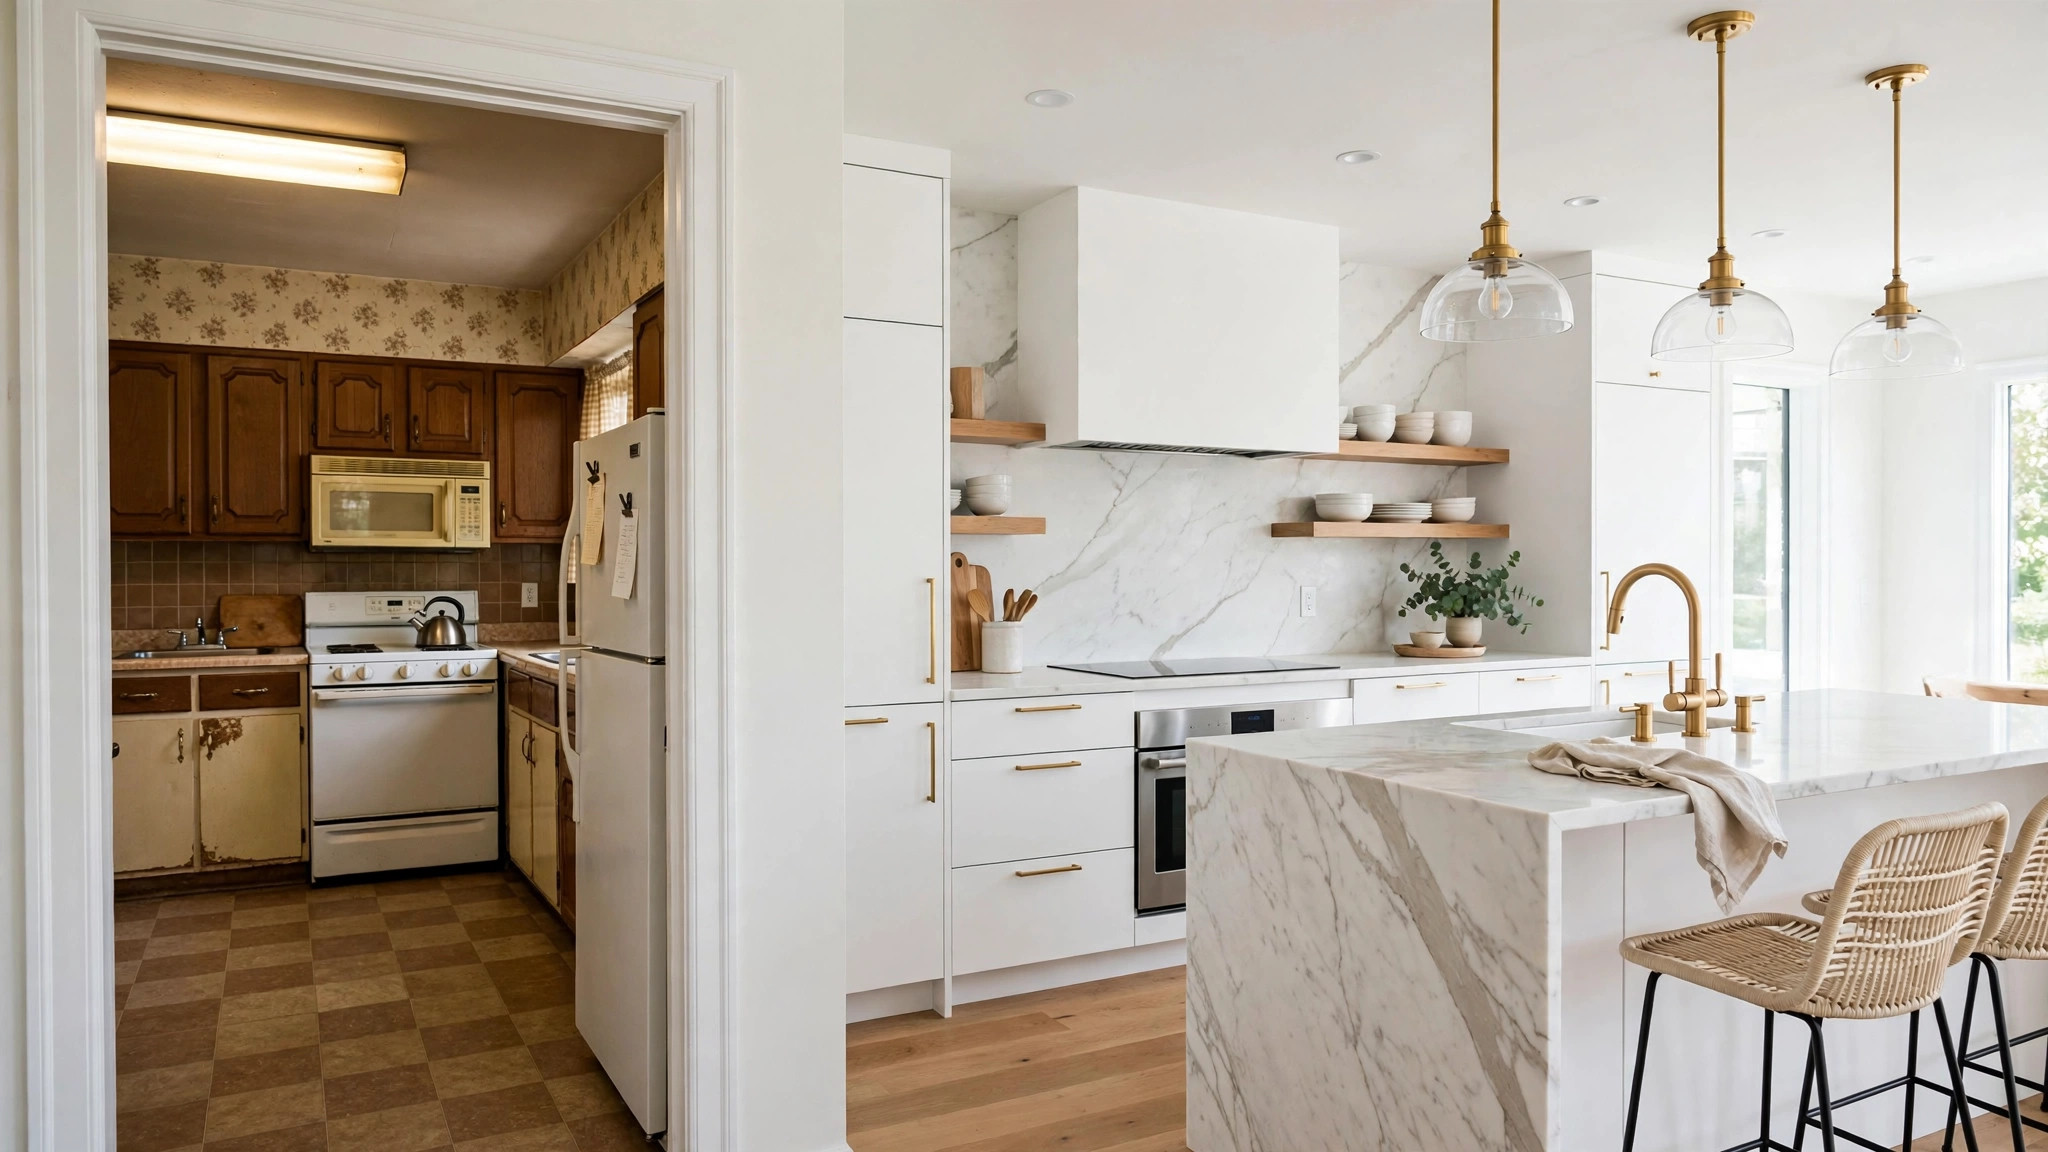
Now the rooms everyone cares about. Kitchens and bathrooms come after the shell is closed and flooring is in because they are finish-heavy: cabinetry, countertops, tile, fixtures, appliances. They also generate the most dust-sensitive, precision work in the house. Within this phase, bathrooms often go slightly before or alongside the kitchen, for a practical reason: you need a functioning bathroom more urgently than a functioning kitchen during construction, and completing at least one full bath early restores a degree of normal life.
The internal sequence of a kitchen or bath remodel follows the same messy-to-clean logic: any remaining rough work, then tile (wet, dusty), then cabinetry installation, then countertop templating and installation (countertops are measured after cabinets are set, which builds a natural pause into the schedule — use it for paint), then plumbing fixture set, electrical fixture and device installation, appliances, and finally paint touch-ups and hardware. Countertop lead times — often two to four weeks from template to install — are one of the most common schedule surprises; order with the lead time in mind, not when you feel ready.
If you are renovating multiple bathrooms, do them together or in immediate sequence, not years apart. The plumber, tile setter, and electrician mobilize once; the dumpster is already there; you are already living with disruption. Splitting baths across years roughly doubles the overhead cost and disruption per bathroom.
Phase 6: Interior Finishes — Trim, Doors, and Paint
With kitchens and baths functional, the house gets its finish carpentry: interior doors, casing, baseboards, crown molding, built-ins, and stair details. Trim goes in after flooring (so baseboards sit correctly on the finished floor height) and after cabinetry (so trim meets cabinets cleanly). Paint follows trim — painters fill nail holes, caulk trim joints, and spray or brush the final coats over everything. Doing paint before trim means painting twice; the pros always trim first, paint last.
This is also when lighting fixtures, switches, outlet covers, and plumbing trim get their final installation — the “finish electrical and plumbing” that turns roughed-in boxes and stubbed pipes into a working house. Then comes the final deep clean, ideally by a construction cleaning crew, before furniture returns. Construction dust is fine enough to defeat normal cleaning; the post-construction clean is not a luxury.
Phase 7: Exterior Cosmetics and Landscaping
Landscaping, exterior painting touch-ups, decks, patios, and outdoor living spaces come last. Everything before this phase involved workers, dumpsters, and material deliveries crossing your yard — landscaping first means landscaping twice. There is one exception: major hardscaping that requires heavy equipment access through the house’s future finished areas should be coordinated earlier, with protection plans. Otherwise, let the yard be the final reward: the project ends with the property looking complete from the curb.
When the Standard Order Changes
The sequence above fits most whole-house renovations, but real life imposes exceptions. If you are living in the house during renovation, livability may reorder phases: completing one full bathroom and a functional kitchenette first, even if construction logic would prefer otherwise, can be worth the inefficiency. Budget constraints also reorder work — many homeowners do the “bones and guts” as one project and finish rooms over subsequent years. If you phase across years, complete each phase to a clean stopping point (closed walls, working systems) rather than leaving rough work exposed.
Rental properties and flips follow a different logic: speed and visible impact. Investors often compress the sequence, overlap phases aggressively, and prioritize kitchens, baths, and curb appeal — the rooms that rent and sell units. Historic homes add another layer: preservation requirements may dictate restoring original features in a specific order, and specialist trades (plaster, historic woodwork) schedule far in advance. And if a single room is failing — a leaking shower rotting the subfloor — fix the active damage immediately regardless of where it falls in the sequence. Triage beats theory.
The “One Room Only” Shortcut
If you are renovating just one room and the rest of the house is fine, you can compress the whole sequence into that room: address any structural or envelope issues affecting it, update its mechanicals, close the walls, floor it, finish it. The key discipline is checking whether the room’s project touches shared systems — a bathroom remodel that reveals galvanized plumbing serving the whole house, or a kitchen expansion that needs a panel upgrade, pulls the project back into whole-house logic. Scope the room, then check the systems behind it before you commit to the shortcut.
Common Sequencing Mistakes
- Painting before the dusty work is done. Drywall sanding, floor refinishing, and tile cutting all generate dust that settles into fresh paint. Final paint is nearly last for a reason.
- Installing finished flooring before heavy work above it. Dropping a cabinet, a countertop slab, or a stack of drywall on finished hardwood is a costly lesson. Protect finished floors ferociously or install them late.
- Landscaping before construction ends. Dumpsters, deliveries, and scaffolding will destroy new plantings. The yard is the finale.
- Finishing the basement first. Basements are the most moisture-vulnerable space in the house. Finish the envelope, drainage, and waterproofing first — then verify with a rainy season if you can — before investing in basement finishes.
- Doing rooms in order of annoyance. The room that bothers you most is rarely the room construction logic puts first. Let the sequence serve the house, and let the house serve you for decades after.
Frequently Asked Questions
Should I renovate the kitchen or bathroom first?
A: If both need full renovation, bathrooms often go first because you need a working bath during construction, and bath work is slightly less disruptive to stage. But if both are part of one project, do them together — shared trades, one dumpster, one period of disruption. Kitchens get priority only when the kitchen is the home’s main dysfunction and baths are serviceable.
Can I live in the house during a whole-house renovation?
A: Sometimes, with planning. It requires a phased approach that keeps one bathroom, a basic kitchen setup, and a dust-sealed living/sleeping area functional at all times. It is slower and more expensive per square foot than vacating, and the stress is real. For projects touching every room, moving out — even to a short-term rental — is usually cheaper than the inefficiency and delay of working around occupants.
How far ahead should I schedule trades?
A: Good subcontractors book weeks to months out. Lock in your key trades (especially tile setters, electricians, and plumbers) as soon as the scope is firm, not when you are ready for them. The most common schedule slip in renovations is not slow work — it is waiting for the next trade to become available.
Does the order change for a condo or apartment?
A: The interior logic is the same, but building rules add constraints: limited work hours, elevator reservations, protection requirements for common areas, and HOA approvals that can take months. Get building approvals before scheduling anything, and note that structural or envelope work may be the building’s responsibility, not yours.
Should the basement be finished before or after the upstairs?
A: After the envelope and drainage are proven, and generally after the main living levels are done. Basements collect the consequences of every water mistake made above and around them. Finish the roof, grading, and waterproofing first, live through wet weather, then finish the basement with confidence.
What if I can only afford one phase per year?
A: Follow the sequence across years: year one, bones and envelope; year two, guts and closed walls; year three, kitchens and baths; year four, finishes. End each year’s work at a clean, livable stopping point. Avoid starting finishes in one area while infrastructure elsewhere remains untouched — the unfinished infrastructure will eventually demand access through your finished work.
Final Thoughts
Renovation order is not a matter of taste — it is a matter of physics, dust, and money. Work from the bones outward, from the messiest to the cleanest, from infrastructure to finishes, and every dollar you spend is protected by the dollars you spent before it. Reverse the order and you pay twice: once to build, once to repair what the next phase damaged.
Before your next project, sketch the seven phases against your own house and plans. The hour you spend sequencing will save you weeks of rework and thousands of dollars in damaged finishes. Build in the right order, and the renovation builds on itself all the way to the finished home.